简介
在上一篇博文中,介绍了大家已经很熟悉的布局控件ListView,在这篇文章中,我将使用比较新、功能也更强大的RecyclerView.
RecyclerView
首先,要用这个控件,你需要在gradle文件中添加包的引用(配合官方CardView使用)
|
|
在actvity_recyclerview.xml文件中定义布局:
|
|
和ListView文章中类似的代码声明:
|
|
对于RecyclerView需要进行LayoutManager的配置,这个是和ListView一样的线性显示:
|
|
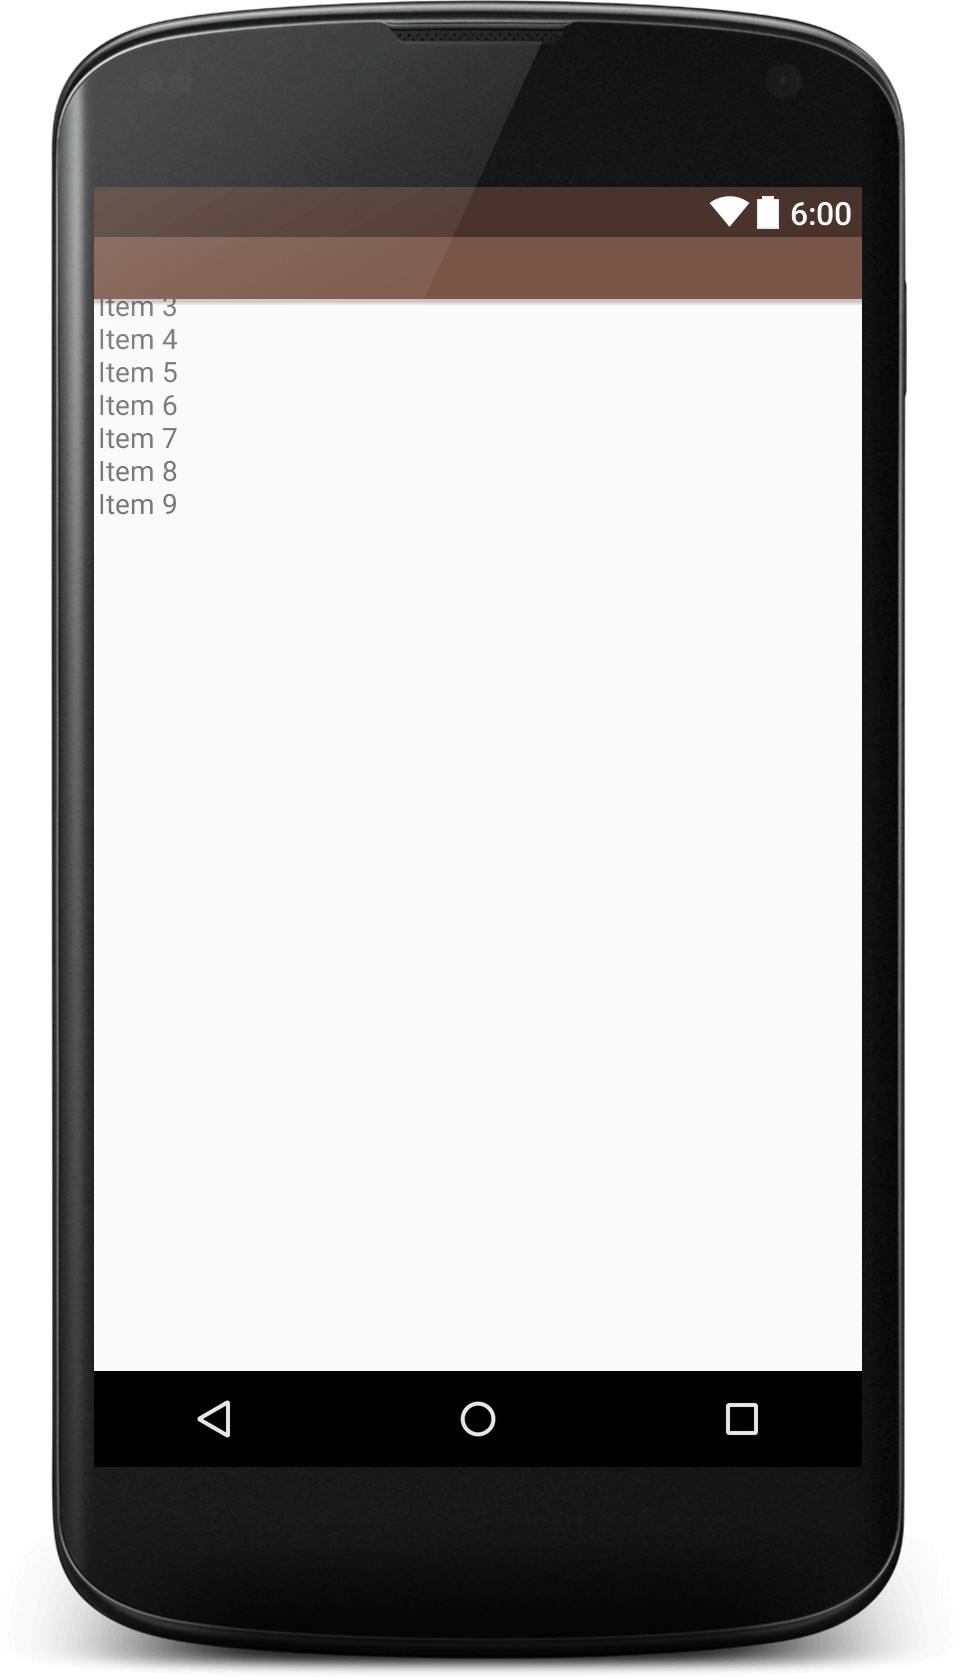
获取数据的方法参考上篇文章ListView,或者直接查看我的开源代码库,在此不再赘述。下面介绍RecyclerView的自定义Adapter.
|
|
这是效果:
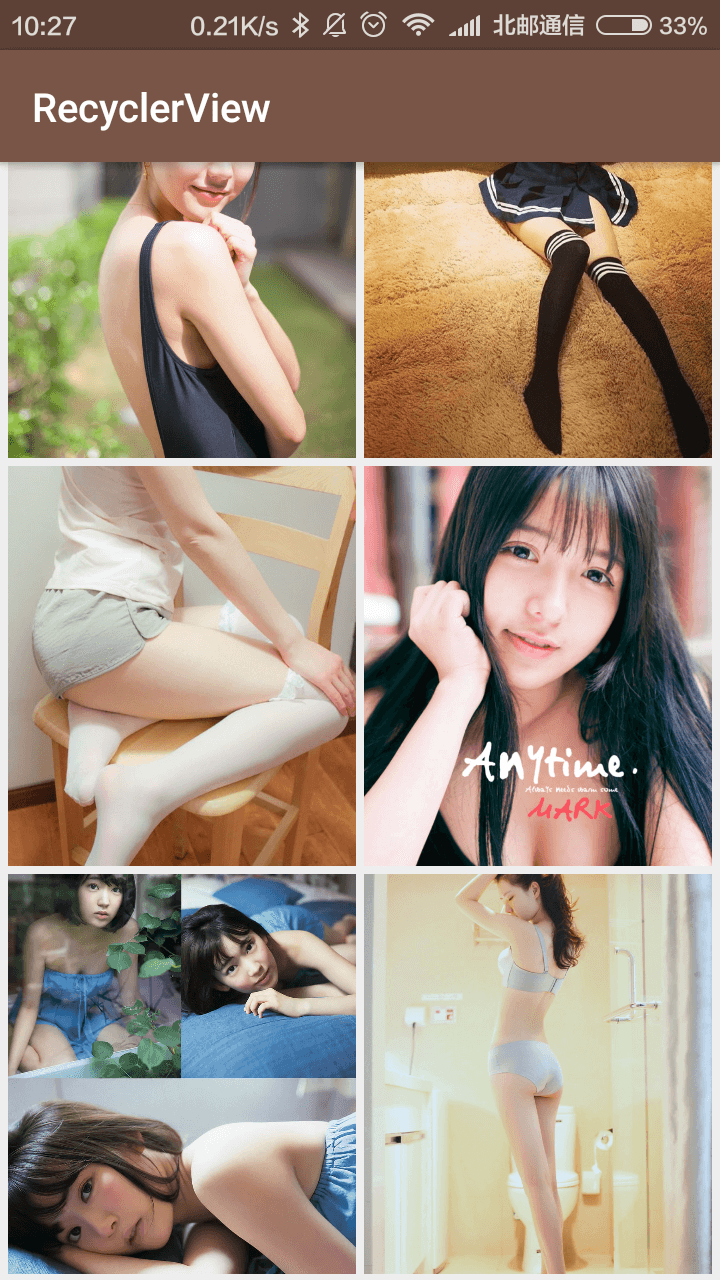
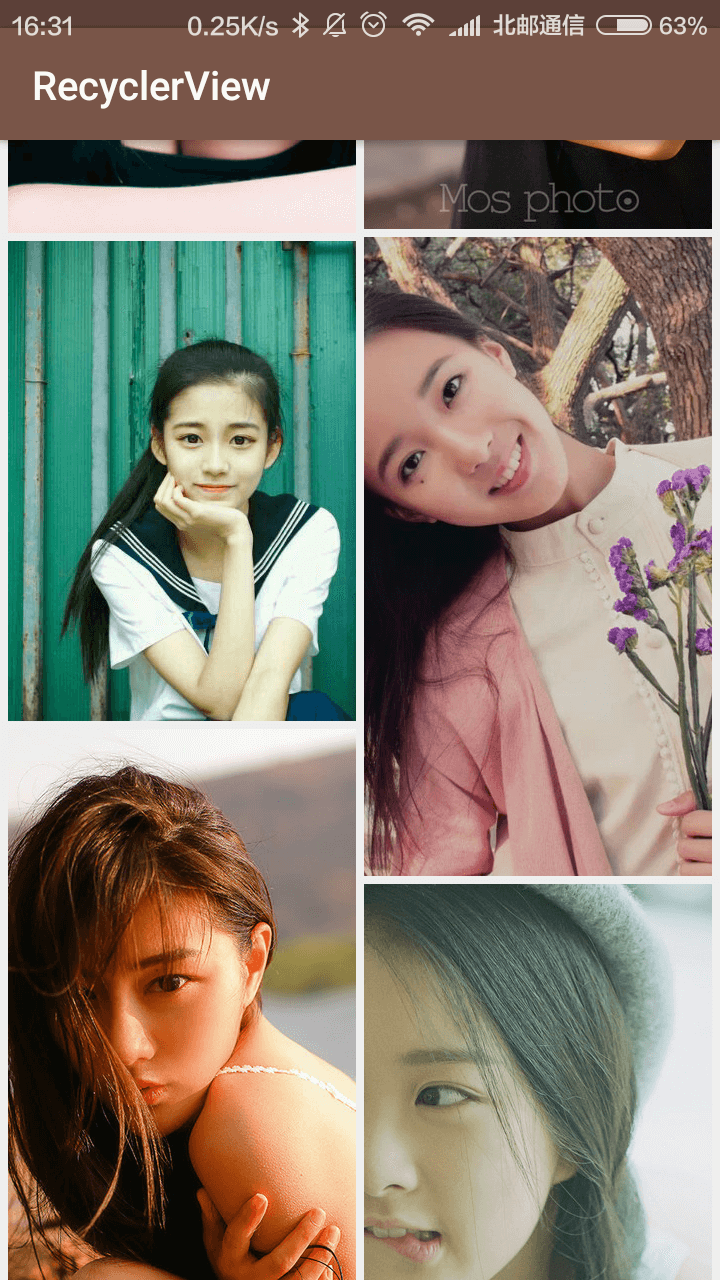
RecyclerView很方便的更改样式。这是设置成两个竖列的样式代码:
|
|
图片展示不紧凑是因为宽和高的问题,在item_image.xml配置文件中修改宽和高如下:
|
|
这样就可以比较好的效果:
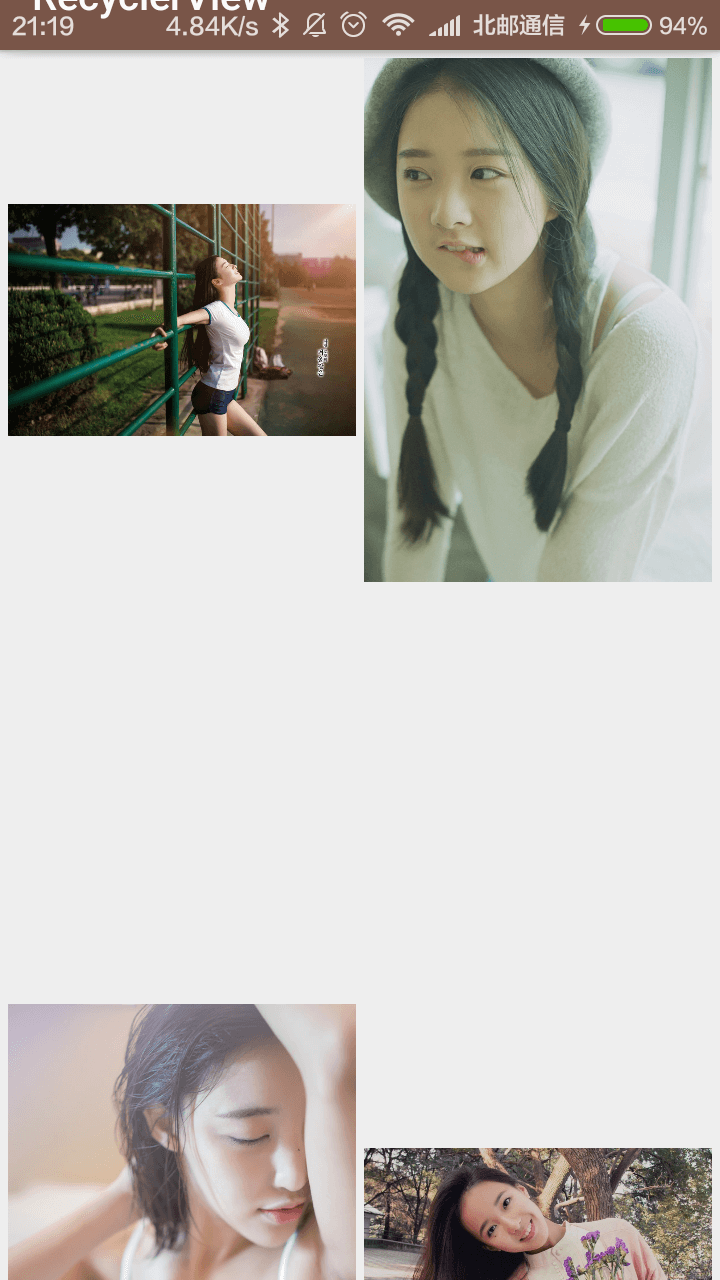
同样可以很简单实现瀑布流:
|
|
此时的item_image.xml为:
|
|
结果:
简单到很神奇。
这是最常用的RecyclerView的使用,项目已开源在:https://github.com/fuxuemingzhu/ViewAdapterTest,欢迎Star和交流学习。
下一篇将讲解九宫格图片布局NineGridImageView.